-
1
Choose a layout
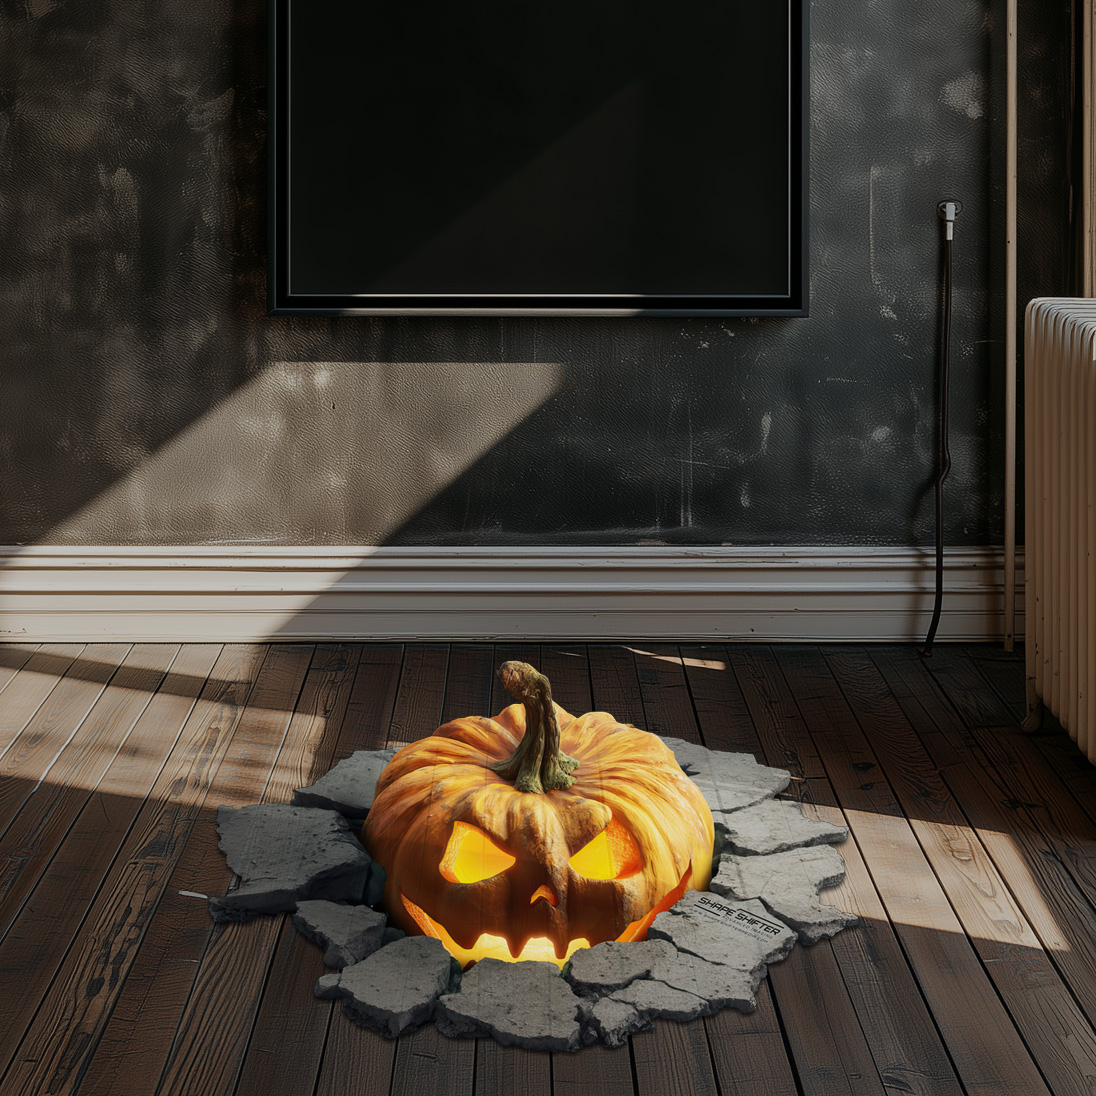
Pick one of our designs to preview on your floor -
2
Place the layout on your floor
Use your mobile camera to position it at true size -
3
Get the mockup
Download your preview photo instantly
Now sell with it
Had a play? The mockup is the easy part. Our guide is about what to do with it — how marketing agencies, printing companies and people selling floor space put one in front of a client or partner, and win the job with it.
Prefer to listen? Both the English and the German version are also on the page as an audio lesson.
Are you on desktop right now?
You will need a phone or tablet — the tool works by aiming the camera at your floor. Scan this and it opens on your phone. Free, no login, nothing to install.

Choose your floor graphic
Browse our collection and pick the design that works best for your space.
Popular right now
Ready for Halloween
All designs
Nothing matches that.
Hold your phone like this
- 1Hold the phone upright at chest height.
- 2Tilt it down toward the floor in front of you.
- 3Hold it there until the indicator turns green, then take the shot.
Turn your phone upright — landscape is not supported yet.
First, lay the grid on your floor
Tilt it until the squares sit flat on the ground, like tiles. Each square is one metre.
You cannot get this wrong in a way that breaks the mockup — the grid only tells us where the floor is. Nothing here changes the graphic itself.
Here it is
Want it in your inbox?
We will email this mockup so you still have it tomorrow. The download below works either way.
Building your mockup…